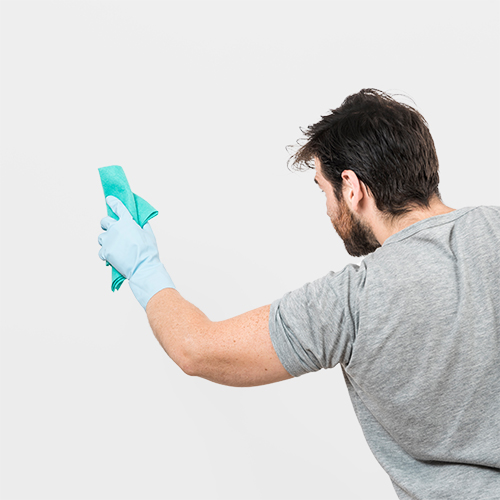
Before applying paint, make sure your surface is clean, dry, and free of dust or debris. Sand any rough areas to create a smooth, even base, ensuring the paint adheres properly for a flawless finish.
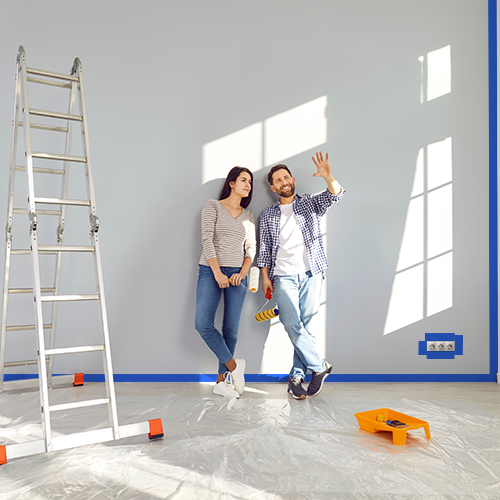
Protect
Surrounding Areas
Before you start painting, protect the surrounding area by covering floors and furniture with drop cloths or plastic sheeting. Use painter’s tape to mask off edges and trim for clean, sharp lines, preventing any accidental splashes or drips.
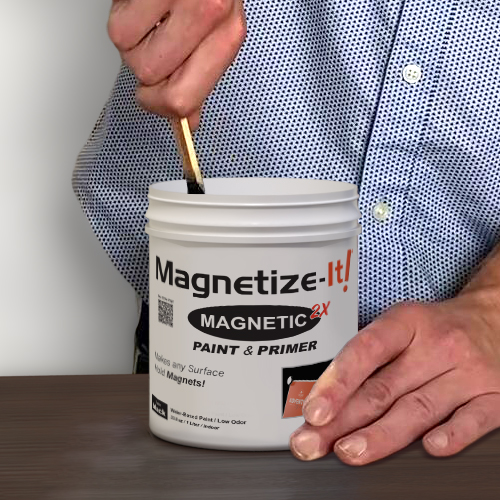
Stir
Thoroughly
It’s important to stir magnetic paint thoroughly before applying. Make sure to mix it well to ensure an even distribution of the magnetic particles for optimal results.
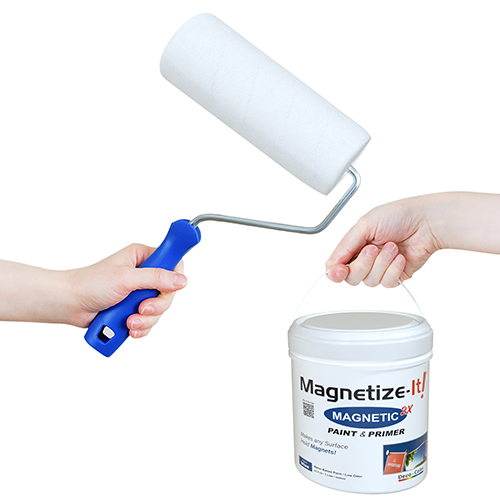
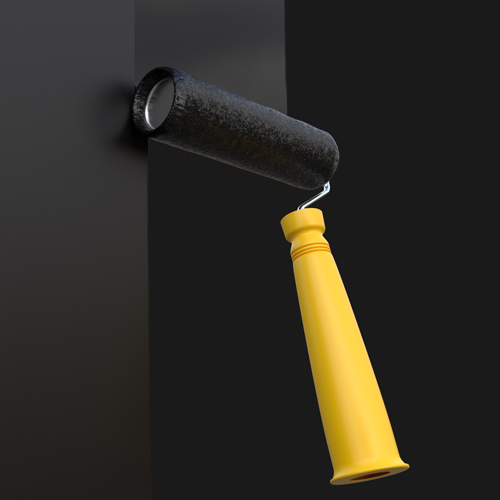
Use
a Brush or Paint Roller
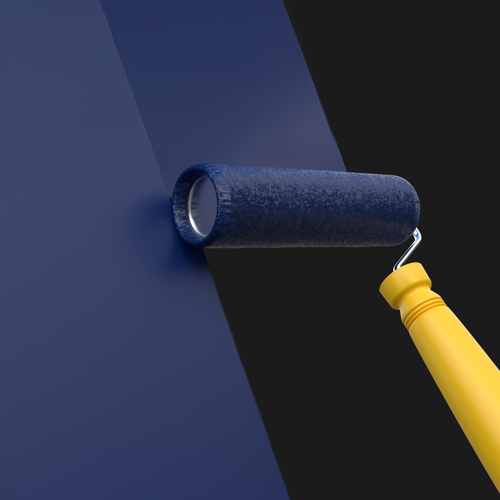
Use a low-nap or foam roller to achieve a smooth, even finish! Brushes work well for more detailed areas, but the roller will help speed up the process and cover larger surfaces.
Clean your tools with mild soap and water right after use to keep them in good condition for future projects.
Use more
coats for a stronger hold
Magnetic paint’s strength increases with each additional coat, so applying multiple layers enhances its magnetic properties. For the best results, aim for at least three to six coats, allowing each layer to dry completely (30-45 minutes) before adding the next.
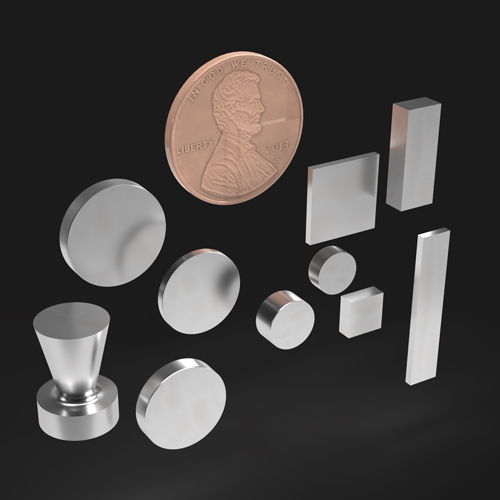
Magnets
Matter
Neodymium magnets are significantly stronger than standard magnets, making them ideal for use with magnetic paint.
Top Coat
for Durability (optional)
Once the magnetic paint has dried, you can apply up to two layers of top coat to seamlessly blend it with the surrounding color or opt for a new shade to create a fresh, smooth finish that enhances your space.
Ventilate
the Area
Ensure proper ventilation to help the paint dry faster and reduce fumes.